Open Challenges for Automated Machine Learning: Solving Intellectual Debt with AutoAI
ICML Workshop on Automated Machine Learning
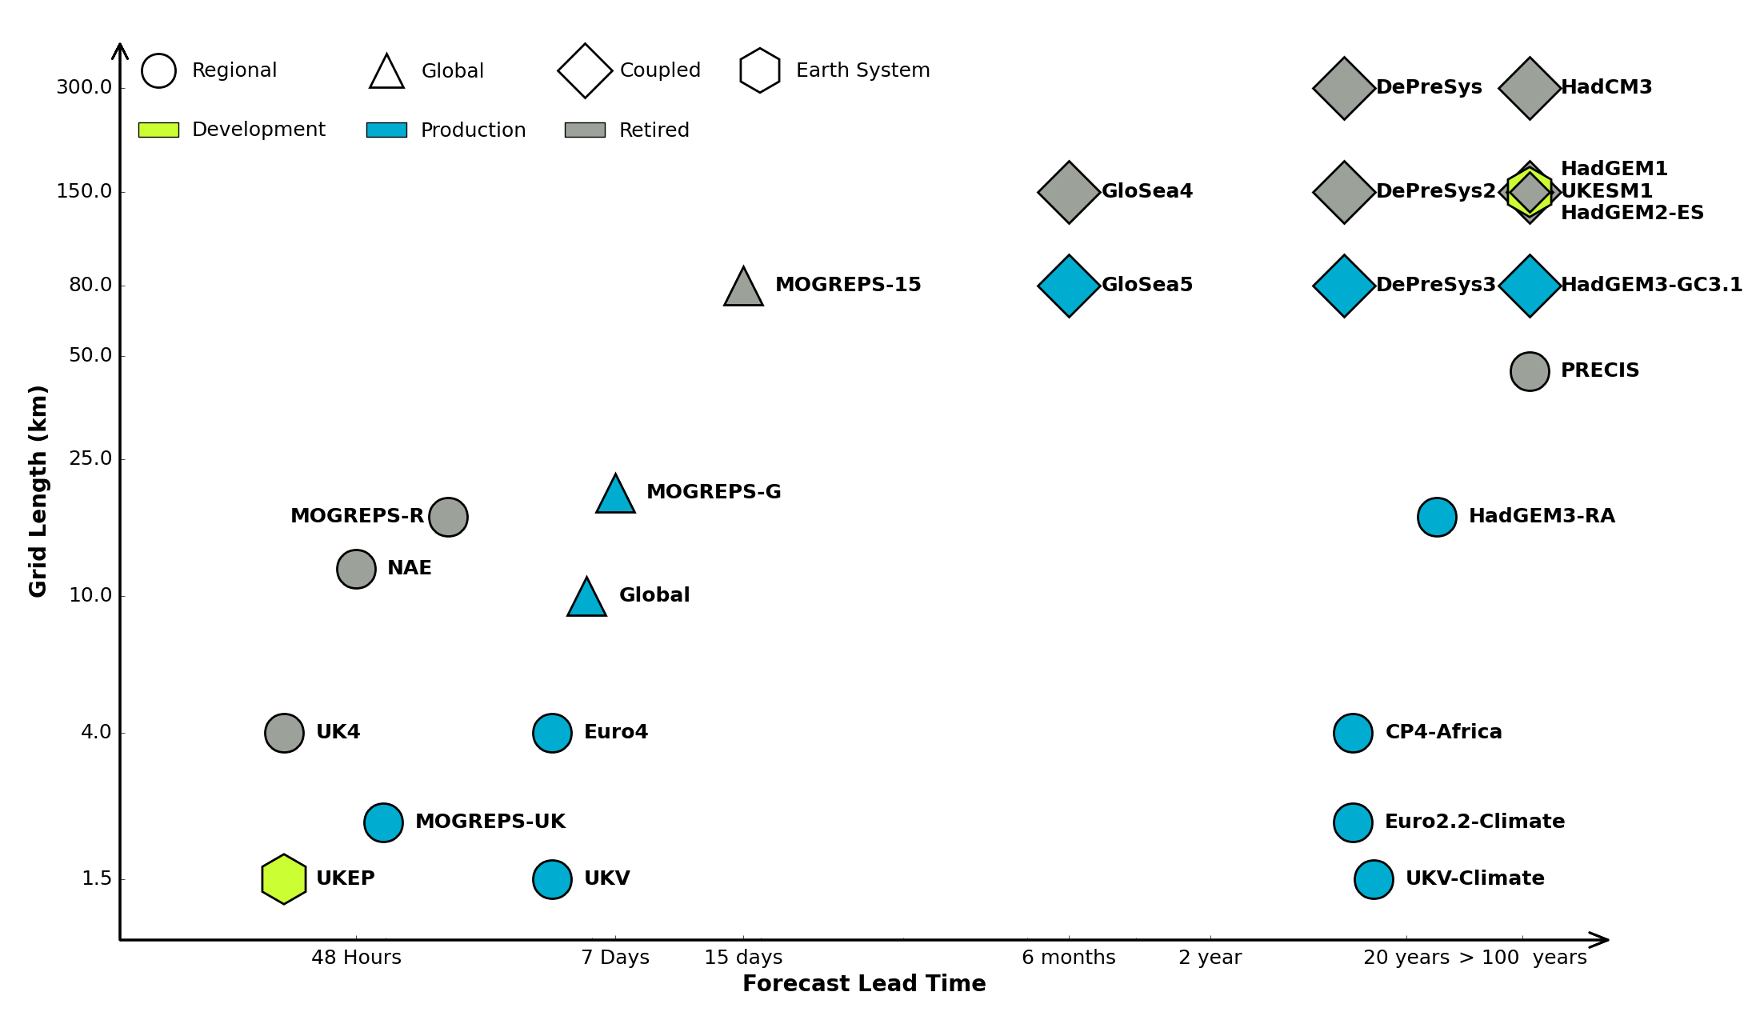
Statistical Emulation
Data Science Africa is a bottom up initiative for capacity building in data science, machine learning and AI on the African continent
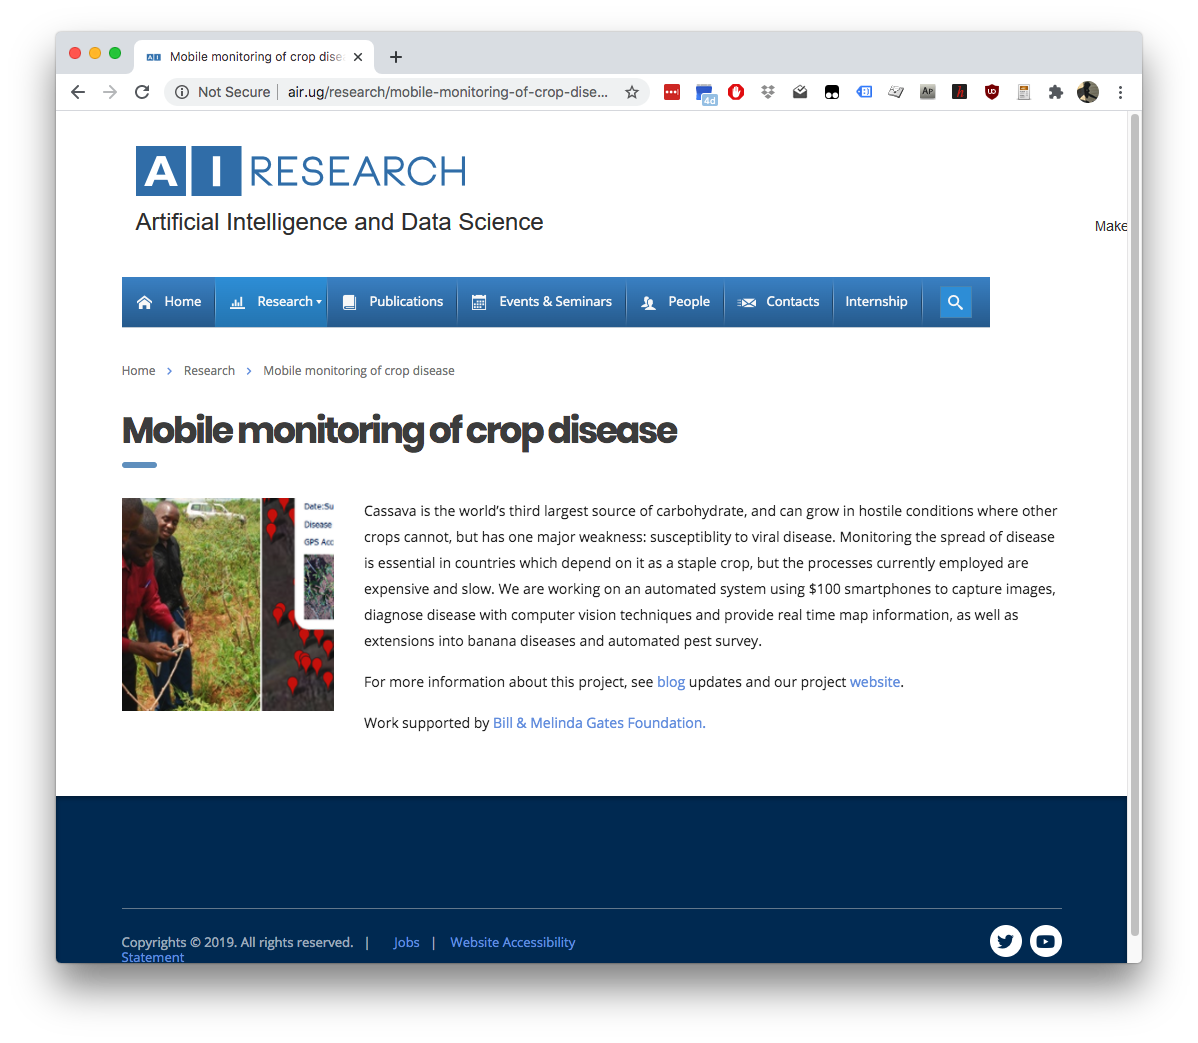
Crop Monitoring
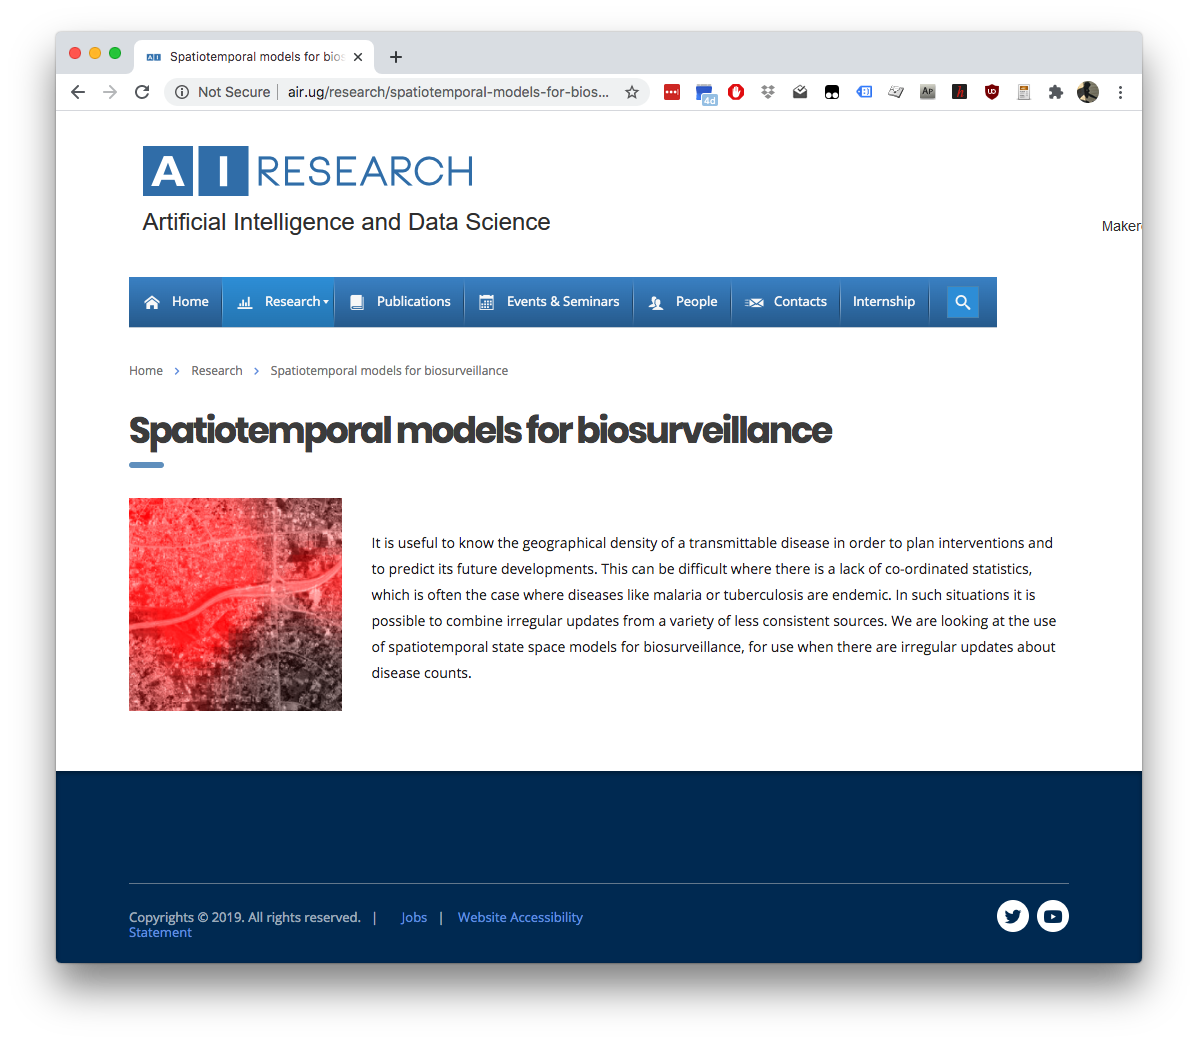
Biosurveillance
Community Radio

Kudu Project

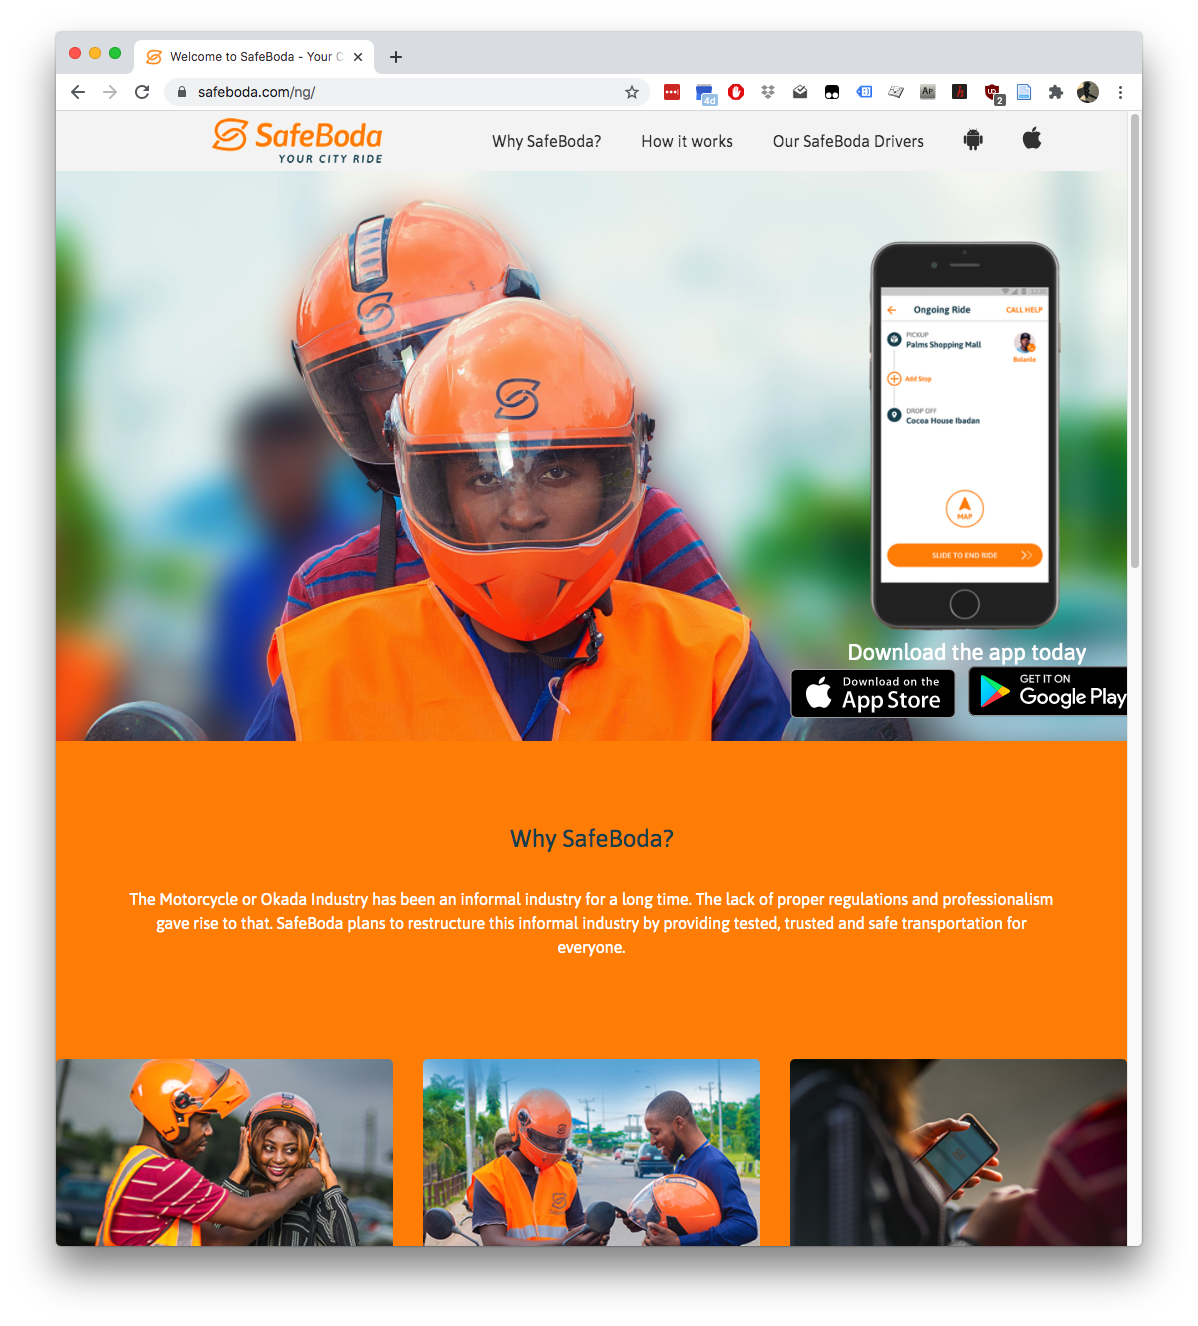
Safe Boda